Building Envelope Systems
What Are Wood Nailers —
and Why Do They Matter?
Wood nailers create secure attachment points for roofing, cladding, coping, and envelope systems — making them a critical but often overlooked component in commercial construction.
01
What Is a
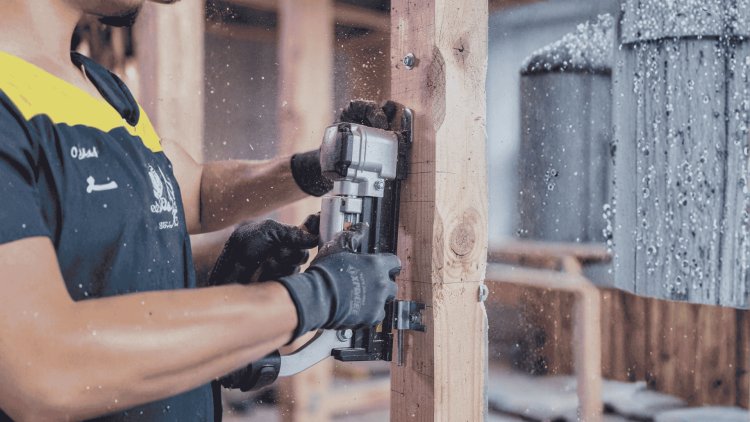
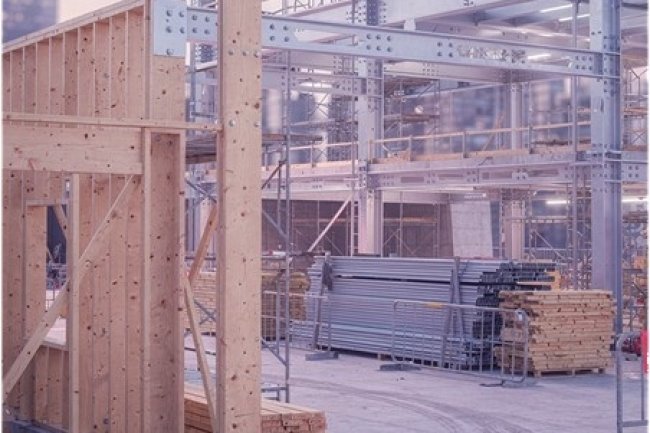
Wood Nailer?
A wood nailer — also called wood blocking or a nailer board — is dimensional lumber or engineered wood anchored to steel decking, concrete, or metal framing to create a secure nailable surface for building systems.
02
Why Proper
Installation Matters
When wood nailers are incorrectly specified or installed, the failures often extend into roofing membranes, cladding systems, and envelope assemblies — leading to water infiltration, pull-away failures, and costly repairs.
Critical Industry Insight
Improper wood nailer installation is one of the top contributors to roofing system failures and envelope warranty disputes on commercial projects.
Common Installation Issue
Issue #1: Incorrect Sizing
and Inadequate Thickness
One of the most common wood nailer failures comes from undersized lumber, incorrect thickness selection, and missing dimensional coordination during design and installation.
The
Problem
Nailers that are too thin or too narrow cannot properly support fastener embedment depth, increasing the risk of pull-out failures, membrane issues, and inadequate edge support.
01
The
Solution
Specify nailer dimensions based on insulation thickness, membrane termination heights, and required pullout loads while coordinating details clearly in BIM and construction documents.
02
Best Practice
Tip
Reference NRCA guidelines and manufacturer technical data sheets for verified minimum nailer dimensions, then integrate them into your standard detail library.
03
Common Installation Failure
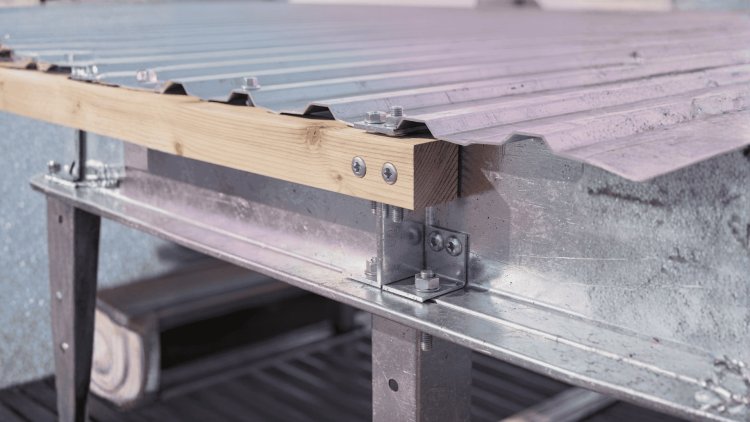
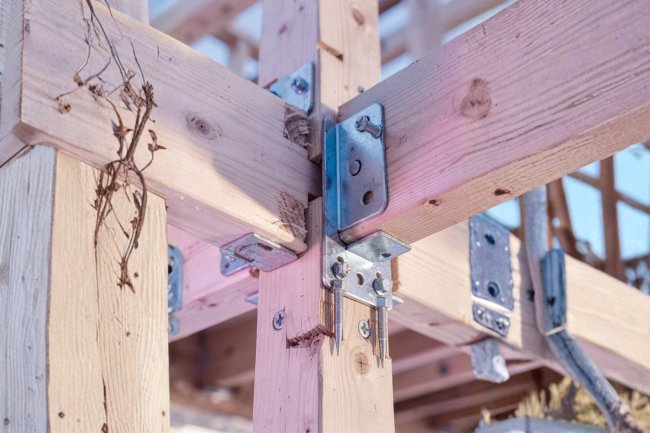
Issue #2: Improper Anchoring
to the Structural Substrate
Even correctly sized wood nailers can fail when anchorage methods, fastener spacing, and substrate coordination are improperly designed or installed.
Why Anchorage Failures Happen
Improper anchoring problems are especially common at roof perimeters, parapets, and canopy edges where wind uplift pressures are highest. Without engineered fastening layouts, nailers can loosen, deform, or completely detach under load.
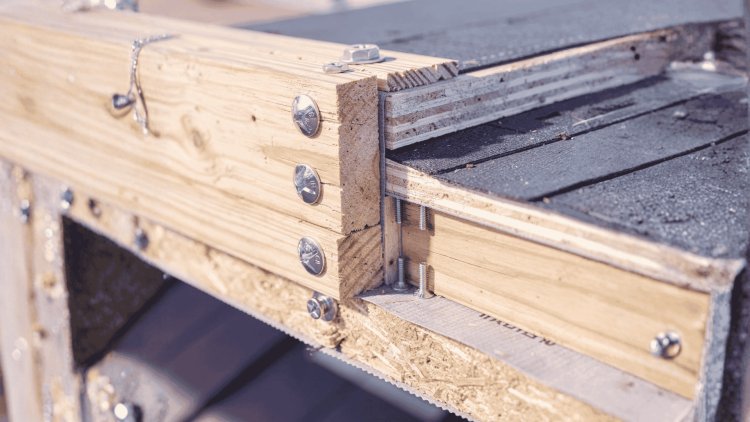
Spacing
Errors
Inconsistent anchor spacing creates stress concentrations and leaves portions of the nailer inadequately supported.
01
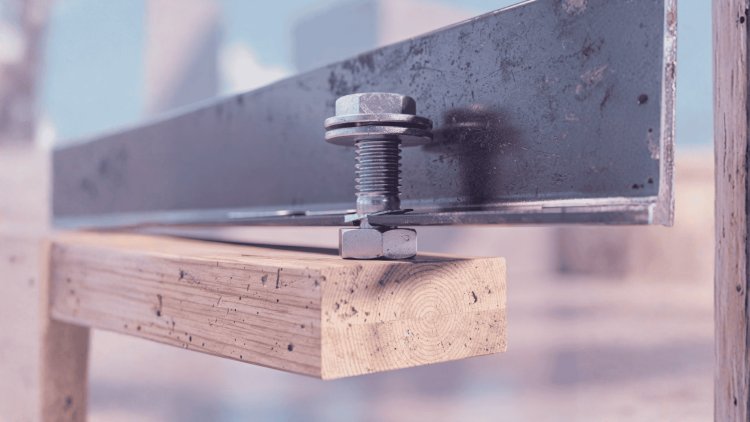
Wrong
Fastener Type
Using unsuitable fasteners on lightweight steel decking can cause pull-through, deformation, and premature failure.
02
Missing
Calculations
Missing uplift calculations leave installers making field decisions without verified engineering guidance.
03
Recommended Solution
Provide engineered anchorage layouts directly within the construction drawing package. Specify fastener type, diameter, embedment depth, and spacing requirements for each nailer location based on the project's wind zone and uplift calculations.
BIM
Coordination
Model nailer locations in 3D to detect spatial conflicts with structural framing, MEP systems, and cladding layouts before fabrication.
01
Shop Drawing
Review
Verify submitted nailer sizes, grades, fastener layouts, and anchorage details against design intent and code requirements.
02
RFI
Management
Resolve field questions with engineered clarity rather than improvised jobsite workarounds that compromise performance.
03
As-Built
Documentation
Capture installed nailer conditions for future facility management, maintenance, and renovation planning workflows.
04
Best Practices & Quality Control
Best Practices Summary:
Getting Wood Nailers Right
Successful wood nailer performance depends on deliberate coordination between specification, detailing, installation, inspection, and long-term system integration.
Specify & Size
Choose species, dimensions, and fastener patterns.
Anchor Engineered
Use engineered anchors per loads and substrate.
Protect from Moisture
Apply barriers and seal joints before installation.
Coordinate Systems
Align with adjacent trades and penetration details.
Getting wood nailers right is not a matter of complexity — it is a matter of deliberate attention at each phase of the project lifecycle. The best outcomes occur when specification, detailing, installation, and inspection are treated as a connected workflow rather than isolated tasks.
01
Specify with Precision
Define lumber species, grade, treatment type, dimensional requirements, and applicable standards clearly within the project specification.
02
Detail Every Interface
Produce coordinated details for joints, corners, penetrations, and transitions to adjacent building systems.
03
Engineer the Anchorage
Base fastener type, spacing, and embedment depth on calculated wind uplift and structural loading conditions.
04
Inspect During Installation
Perform dedicated quality control inspections before roofing or cladding systems conceal the installed work.
Precision Detailing & BIM Coordination
The Role of Accurate Detailing
in Preventing Wood Nailer Failures
A significant portion of wood nailer failures begins with incomplete drawings, vague specifications, and uncoordinated construction documentation.
Why Accurate Detailing Matters
When details are vague, field crews are forced to make judgment calls under time and cost pressure. Thorough detailing and BIM coordination eliminate ambiguity by resolving nailer sizes, anchor patterns, interface conditions, and system coordination before construction begins.
Companies like Consac combine structural detailing, BIM coordination, and digital documentation expertise to ensure every nailer location, anchor pattern, and interface condition is resolved before a single fastener reaches the field. Coordinated BIM models also allow clashes with MEP systems, steel framing, and cladding grids to be identified early — reducing costly rework and schedule delays.
BIM
Coordination
Model nailer locations in 3D to detect spatial conflicts with structural and MEP systems before fabrication begins.
01
Shop Drawing
Review
Verify submitted nailer sizes, grades, and anchorage details against design intent and code requirements.
02
RFI
Management
Respond to field questions with engineered clarity rather than field-approximated workarounds.
03
As-Built
Documentation
Capture installed nailer conditions for facility management records and future renovation planning.
04
Best Practices & Installation Standards
Best Practices Summary:
Getting Wood Nailers Right
Long-term wood nailer performance depends on precision detailing, engineered anchorage, moisture protection, and coordinated installation workflows.
Specify & Size
Choose species, dimensions, and fastener patterns.
Anchor Engineered
Use engineered anchors per loads and substrate.
Protect from Moisture
Apply barriers and seal joints before installation.
Coordinate Systems
Align with adjacent trades and penetration details.
Getting wood nailers right is not a matter of complexity — it is a matter of deliberate attention at each phase of the project lifecycle. The strongest outcomes happen when specification, detailing, installation, and inspection are treated as one connected workflow.
01
Specify with Precision
Define lumber species, grade, treatment type, dimensional requirements, and applicable standards clearly in the project specification.
02
Detail Every Interface
Produce detailed coordination drawings for joints, corners, penetrations, and transitions to adjacent systems.
03
Engineer the Anchorage
Base fastener spacing, type, and embedment depth on calculated uplift and structural loading conditions.
04
Inspect During Installation
Perform dedicated quality control inspections before roofing or cladding systems conceal installed work.
Construction Guidance & Final Recommendations
Key Takeaways for
Construction Professionals
Successful wood nailer performance depends on coordinated detailing, engineered anchorage, moisture protection, and disciplined installation practices.
What to Remember
Wood nailers are structural components — treat them with the same engineering rigor as other load-bearing elements.
Most failures are preventable through accurate detailing, proper material specification, and coordinated documentation.
Moisture management at nailer interfaces is a long-term durability issue — not merely an installation concern.
BIM and digital detailing tools are the most effective way to eliminate ambiguity before work begins in the field.
What to Do Next
Review standard nailer details and verify insulation thickness coordination.
Confirm anchorage patterns are based on project-specific uplift calculations.
Verify moisture barriers and interface protection layers are clearly specified.
Ensure joint locations and continuity requirements are fully documented.
Cross-check fire-rating compliance against UL or FM assembly requirements.
Resolve Gaps Before Construction Begins
If any of these review questions reveal gaps, addressing them now — at the documentation and coordination stage — is dramatically less costly than correcting failures after roofing, cladding, or waterproofing systems are installed.
Precision Engineering & Digital Coordination
Precision at Every
Level of the Build
Wood nailers may appear to be a modest building component, but their detailing, coordination, and installation directly influence the long-term performance of the systems they support.
Engineering Attention Prevents Failure
The issues discussed throughout this guide are common — but they are also entirely preventable with disciplined detailing, accurate specifications, coordinated BIM workflows, and properly documented installation requirements. Whether you are managing construction, producing drawings, or planning long-term facility maintenance, understanding these failure modes creates stronger, more reliable buildings.
Structural Detailing
Precise connection and component details that eliminate field ambiguity, reduce RFIs, and improve installation accuracy.
BIM Coordination
Fully coordinated 3D models that identify structural and MEP conflicts before construction begins.
CAD Documentation
Construction drawing packages that communicate design intent with clarity, accuracy, and completeness.
Engineering Consulting
Expert review and advisory support across structural, architectural, and building envelope systems.