Step-by-Step Process of Wood Nailer Installation in Modern Construction
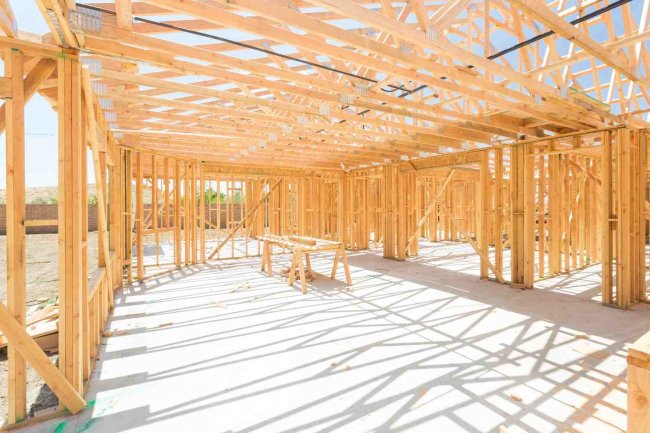
From structural steel to finished framing, wood nailers serve as a critical bridge between materials—ensuring solid, reliable connections that hold buildings together for decades.
Before You Begin: Planning and Preparation
Successful wood nailer installation begins with careful planning. Proper coordination and material selection ensure long-term performance and reduce costly on-site modifications.
Review Construction Documents
Study architectural drawings, structural details, and project specifications carefully. Identify all nailer locations including roof edges, wall tops, equipment pads, and parapets. Confirm dimensions, lumber species, and treatment requirements defined by the engineer.
Coordinate with Other Trades
Align nailer placement with roofing, mechanical, electrical, and plumbing teams. Nailers often support multiple systems, so early coordination prevents conflicts and ensures proper fastening surfaces.
Material Selection and Treatment
Use pressure-treated lumber (ACQ or CA-treated) where nailers contact concrete, masonry, or steel. For fire-rated systems, specify FRT lumber. Ensure fasteners are compatible with treatment to prevent corrosion and long-term failure.
Step-by-Step Breakdown: From Substrate to Final Anchor
Substrate Preparation
Clean the surface thoroughly — remove dust, grease, rust, and moisture. Prepare steel by grinding mill scale. A clean substrate ensures proper anchor embedment and prevents early corrosion.
Layout and Marking
Use chalk lines or laser levels to position nailers. Mark anchor spacing (typically 24” O.C.) and verify alignment at corners before drilling begins.
Moisture Barrier Placement
Install sill gasket or membrane strip beneath the nailer to prevent moisture migration and extend the life of both wood and substrate.
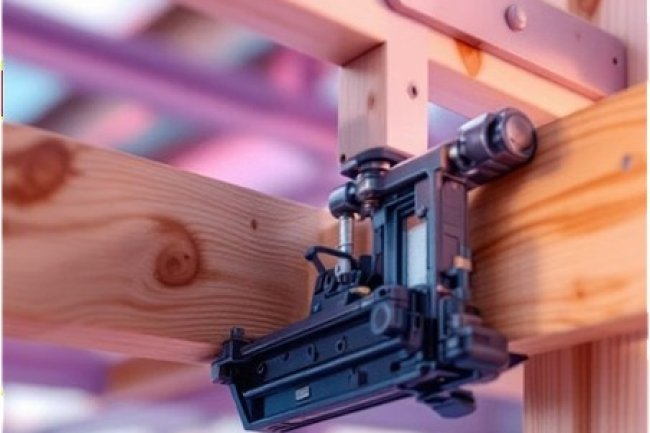
Lumber Positioning & Pre-Drilling
Place treated lumber and pre-drill anchor holes using a rotary hammer. Maintain perpendicular drilling for full-depth anchor engagement.
Anchoring and Fastening
Install anchors or fasteners to required depth and torque. Avoid over-driving. Verify spacing and ensure all fasteners are properly seated.
Inspection & Documentation
Perform inspections or pull-tests. Confirm alignment and dimensions. Document installation with photos and update as-built drawings for project records.
Wood Nailer Applications Across Construction Types
Wood nailers are used across multiple construction systems, each requiring specific material selection and fastening strategies based on structural conditions and exposure requirements.
Roofing Systems
Roof edge nailers anchor low-slope roofing perimeters, supporting edge metal, coping, and flashing. Proper sizing must align with insulation thickness and comply with ANSI/SPRI ES-1 wind uplift requirements.
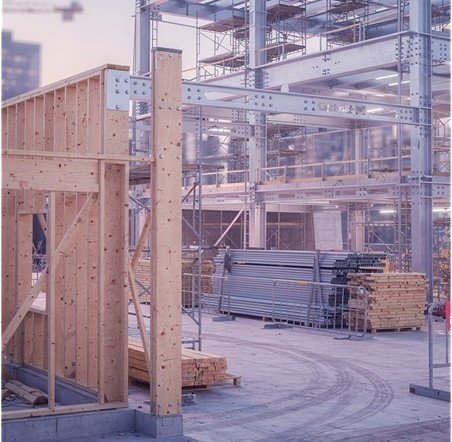
Steel-Framed Buildings
In steel structures, nailers are welded or powder-fastened to framing members to create attachment points for partitions, sheathing, and infill systems, while preventing galvanic corrosion.
Masonry Walls
On CMU or concrete walls, nailers support soffits, ceilings, furring, and equipment. Anchor selection must consider compressive strength and edge distances for reliable performance.
Parapet & Coping Details
Parapet nailers support coping systems and membrane terminations at roof-to-wall transitions. These areas demand robust anchorage to resist wind uplift and thermal movement.
Common Installation Mistakes — and How to Avoid Them
Mistakes That Compromise Performance
Untreated Lumber
Leads to rot and corrosion. Always use pressure-treated or FRT lumber.
No Moisture Barrier
Causes moisture intrusion and decay. Always install isolation layers.
Incorrect Anchor Spacing
Leads to uplift failure. Follow engineered fastening schedules.
Incompatible Fasteners
ACQ/CA treatments corrode standard hardware. Use galvanized or stainless steel.
Best Practices That Elevate Quality
BIM Coordination
Detect clashes early with MEP and structural systems.
Shop Drawing Review
Confirm materials, dimensions, and hardware before procurement.
As-Built Documentation
Record installed locations with photos and updated drawings.
Torque Verification
Test anchor performance to ensure proper structural engagement.
How Consac Supports Precision in Wood Nailer Detailing
Delivering accurate, construction-ready detailing requires engineering insight, field awareness, and digital precision. Consac integrates all three to enhance quality and coordination in complex projects.
Structural Detailing
Construction-ready wood nailer drawings that account for substrate conditions, load requirements, and code compliance — minimizing RFIs and field confusion.
BIM Coordination
Full 3D BIM modeling of nailers, anchoring systems, and interfaces with other trades, ensuring clash-free coordination across disciplines.
CAD Documentation
Detailed CAD drawings including plans, sections, elevations, and fastener schedules ready for submittals, permits, and construction execution.
Engineering Review Support
Coordination with engineers to validate nailer sizing, embedment depths, and connection capacities — ensuring compliance with design intent and building codes.
Code Compliance and Standards to Know
Wood nailer installation is governed by a range of codes, standards, and manufacturer requirements. Staying aligned with these references ensures compliant, safe, and insurable construction practices.
Key Takeaways for Your Next Project
Installation Steps
A clear six-step workflow—from substrate preparation to final documentation— ensures consistent quality, safety, and code compliance across the project.
Application Contexts
Roofing, steel framing, masonry walls, and parapet systems each require specific nailer configurations, detailing approaches, and treatment types.
BIM Coordination
Full 3D coordination before installation eliminates conflicts, improves accuracy, and produces reliable as-built documentation for future use.
Final Thought
Wood nailer installation may not capture headlines, but it underpins the performance of roofing systems, wall assemblies, and mechanical attachments across commercial buildings. A disciplined approach—from material selection and BIM coordination to field execution and documentation—transforms a simple task into a lasting competitive advantage.
Plan carefully. Detail precisely. Install with confidence.
What's Your Reaction?