Advanced Connection Techniques for Light Gauge Steel Framing
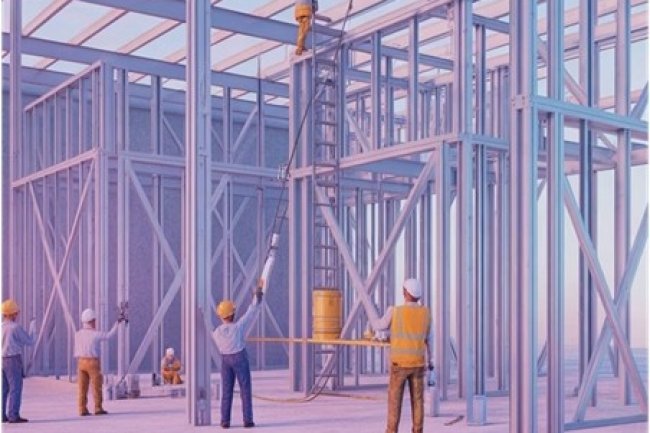
Mastering connection detailing in light gauge steel framing (LGSF) can mean the difference between a structurally sound building and costly field corrections. As projects become more intricate and performance requirements increase, engineers must go beyond basic connection design and adopt advanced techniques that enhance strength, speed, and constructability. This section explores practical, real-world detailing insights that structural engineers can apply immediately in their next project—improving precision, reducing installation errors, and ensuring long-term durability.

Why Connection Design Matters in Light Gauge Steel
In light gauge steel framing, connections are more than just fastening points — they are the critical load transfer mechanisms that determine your structure's performance. Unlike heavy steel or wood framing, light gauge systems rely on carefully engineered connections to achieve their full structural capacity.
Poor connection design leads to premature failure, excessive deflection, and costly rework. The thin material gauge means less margin for error, making proper detailing essential from the start.
Use connection-first detailing, standardized connection libraries, and early coordination with fabricators to reduce risk and improve performance.
- Detail connections to fabricator tolerances
- Use tested connection assemblies where possible
- Coordinate early with structural and MEP teams
Self-Drilling Screws: The Workhorse Connection
Self-drilling screws remain the most versatile connection method for light gauge steel. These fasteners eliminate pre-drilling, combining the drill bit and screw thread in one component. For structural applications, specify #10 or #12 screws with a minimum 3/4-inch embedment into the receiving member.
Proper Installation
Drive screws perpendicular to the surface at 1,500–2,500 RPM. Overdriving strips threads and reduces capacity by up to 40%.
Edge Distance
Maintain minimum 3/8-inch edge distance from steel edges to prevent tearing and ensure full load transfer.
Spacing Standards
Typical screw spacing ranges from 6 inches on center for shear walls to 12 inches for non-structural assemblies.
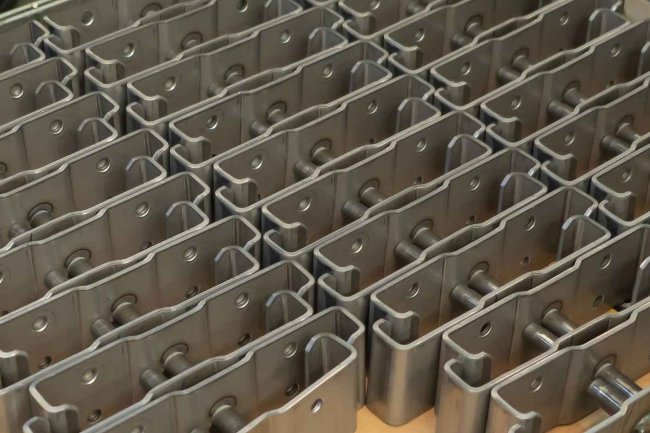
Clip Angles and Structural Brackets
When screw connections alone can't handle the load, clip angles and prefabricated brackets provide enhanced strength. These components distribute forces over larger areas and accommodate higher shear and moment demands.
L-shaped clips work well for beam-to-column connections, while specialty hurricane clips and hold-downs address uplift in high-wind regions. Always verify that the bracket manufacturer's load tables match your steel thickness and connection configuration.
Select appropriate bracket
Match bracket capacity to design loads with a 20% safety margin.
Install per specifications
Use all fastener holes—missing fasteners dramatically reduce load capacity.
Verify alignment
Ensure brackets sit flush against both connecting members.
Welded Connections: When You Need Maximum Strength
While screw fasteners dominate most light gauge steel framing, welded connections become essential in high-load conditions, moment frames, and areas requiring rigid joints. However, welding thin-gauge steel introduces unique challenges. Because of its low thermal mass, heat concentrates rapidly, increasing the risk of burn-through, warping, and distortion if not controlled properly.
Equipment Setup
-
Use short-circuit MIG welding with 0.023–0.030 inch wire, ideal for thin-gauge materials.
-
For 20-gauge steel, maintain 16–19 volts to ensure proper penetration without overheating.
-
Keep wire feed rates moderate to avoid excessive heat buildup.
Welding Technique
-
Apply tack welds first to hold members in place and minimize thermal distortion.
-
Use stitch welding (intermittent welds) instead of continuous beads to reduce warping and heat concentration.
-
Maintain a tight arc length and move quickly to avoid dwelling in one spot.
Quality Control Checklist
-
Inspect welds for consistent penetration without burn-through.
-
Check for distortion around the heat-affected zone.
-
Excessive spatter often indicates improper voltage or wire feed settings.
-
Verify that welded surfaces are cleaned and corrosion protected after work.
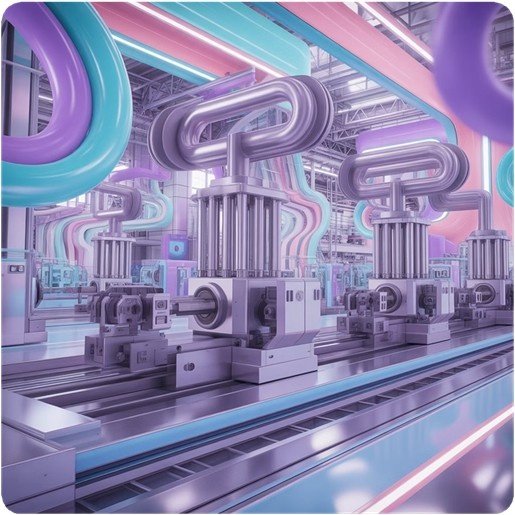
Innovative Connection Systems Changing the Game
Modern construction demands connection methods that are faster, stronger, and more efficient than traditional screws or welds. Two emerging systems—clinching technology and adhesive-enhanced connections—are reshaping how light gauge steel assemblies are designed and built.
Clinching TechnologyClinching is a mechanical joining process that connects steel sheets without fasteners, welding, or heat. Through localized cold forming, the material is pressed into a die cavity, creating a locked intermetallic “button” that permanently holds the sheets together. Key Advantages
While clinching does require specialized tooling and presses, its speed and repeatability make it a compelling choice for modular fabrication environments and panelized construction systems. |
|
Insufficient Edge Distance
Placing fasteners too close to edges causes tearing under load. Always maintain the minimum 3/8-inch requirement and increase to 1/2 inch near corners.
Mismatched Screw Length
Using screws too short for the application reduces thread engagement and capacity. Specify screws that penetrate at least three threads beyond the receiving member.
Ignoring Corrosion Protection
Steel-to-steel connections in exterior applications require galvanized or stainless fasteners. Mixing dissimilar metals accelerates galvanic corrosion.
Over-Tightening Fasteners
Excessive torque strips threads and dimples thin steel, reducing connection strength by 30–50%. Use torque-limiting drivers for consistency.
Engineering Excellence in Every Connection
Successful light gauge steel projects depend on connection details that balance structural performance, constructability, and cost-effectiveness. By understanding the strengths and limitations of each connection method, engineers can specify systems that perform reliably throughout the building's lifecycle.
01
Analyze load paths and connection demands
02
Select appropriate connection methods
03
Detail connections with proper edge distances and spacing
04
Specify quality fasteners and corrosion protection
05
Verify installation through field inspection
Whether you're designing a multi-story residential building or a commercial warehouse, these advanced connection techniques provide the foundation for structural success. The key is matching the connection method to your specific performance requirements while keeping constructability front of mind.
What's Your Reaction?