From Raster to Revit: Digitizing Legacy Blueprints
Transform your old paper blueprints into powerful digital assets for code-compliant renovation projects. This comprehensive guide shows construction professionals how to modernize legacy drawings and streamline project workflows.
Why Legacy Blueprint Digitization Matters
|
Most construction and renovation projects in the U.S. start with decades-old paper blueprints. These aging documents often lack critical details needed for modern code compliance, creating costly delays and rework. Digitizing these legacy drawings transforms static raster images into dynamic, editable models. This process enables accurate measurements, layered information, and seamless integration with modern design software like Revit. The result? Faster project timelines, reduced errors, and enhanced collaboration between architects, engineers, and contractors. |
|

The Digitization Process: Step by Step
Scan and Prepare
High-resolution scanning captures every detail from original blueprints. Clean up image artifacts and ensure proper scale calibration for accurate measurements.
Trace and Convert
Convert raster images into vector drawings using CAD software. Trace walls, doors, windows, and structural elements with precision to create editable geometry.
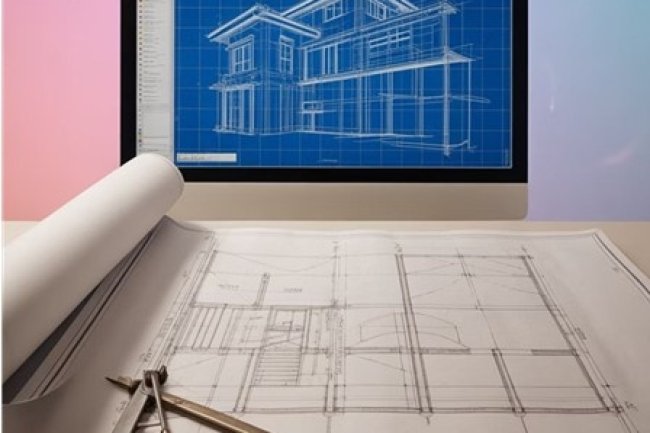
Build 3D Model
Import traced drawings into Revit to create intelligent 3D building models. Add materials, systems, and components for comprehensive project visualization.
Code Compliance Check
Review digital models against current building codes. Identify potential issues early and develop solutions before construction begins.
Key Benefits for Your Projects
|
Cost Reduction
|
Time Savings
|
|
Code Compliance
|
Best Practices for Success
Quality Control Essentials
Start with the highest quality scans possible — typically 300 DPI or higher for architectural drawings. Poor source quality can create cascading problems throughout the digitization process.
Verify measurements and dimensions at every step. Even small errors in the initial conversion can compound quickly, leading to significant issues during construction. Always cross-reference critical dimensions with field measurements whenever possible.
Companies like Consac specialize in precise conversion work, ensuring accuracy from scan to final model. Their expertise helps avoid common pitfalls that can derail renovation projects.
Team Coordination
Establish clear file naming conventions and version control protocols. With multiple team members accessing and modifying digital files, an organized system is essential to prevent confusion and errors.
Pro Tip: Always maintain backup copies of the original scanned blueprints. These serve as reference documents if questions arise during the digitization process.
Your Next Steps Forward
1. Assess Your Blueprint Inventory
Catalog all legacy drawings and prioritize which projects need digitization first. Focus on frequently referenced plans and upcoming renovation projects.
2. Choose Your Tools
Select appropriate software based on your project complexity and team expertise. Start with basic CAD conversion for simple projects, advance to full Revit modeling for complex renovations.
3. Start Small
Begin with a pilot project to test your workflow and identify potential challenges. Learn from this experience before scaling up to larger, more complex digitization efforts.
Modernizing legacy blueprints transforms how you approach renovation projects. Digital models provide the accuracy, flexibility, and compliance tools needed for successful project delivery in today's construction environment.
What's Your Reaction?