Designing for Manufacturability: Avoiding Common Sheet Metal Pitfalls
Smart design decisions can make or break your sheet metal projects. When manufacturing costs spiral or production delays mount, the root cause often traces back to design choices made at the very beginning. Let's explore how to create sheet metal designs that not only look good on paper but also translate efficiently to the production floor.
Why Design for Manufacturability Matters
|
The Hidden Costs of Poor Design
When designers understand manufacturing constraints, they create components that require fewer specialized operations and minimize material waste—directly impacting your bottom line. |
|

Common Sheet Metal Design Mistakes
Insufficient Bend Relief
Without proper relief cuts, material tears at bends and corners deform. Always provide relief proportional to material thickness — typically 1–1.5× the thickness.
Holes Too Close to Bends
Placing holes closer than 2× material thickness from a bend can cause distortion. The metal stretches during bending, pulling holes out of shape or specification.
Overly Tight Tolerances
Specifying unnecessarily tight tolerances (below ±0.005") drives up costs dramatically. Standard sheet metal processes typically achieve ±0.010" to ±0.030" economically.
Working with experienced manufacturers like Consac early in your design process helps identify these issues before they become expensive problems. Prevention costs far less than correction.
Practical Design Guidelines
|
|
Material Selection Considerations
|

Design for Assembly Strategies
Minimize Part Count
Combine features into single parts when possible. Every additional component increases assembly time, inventory management, and potential failure points.
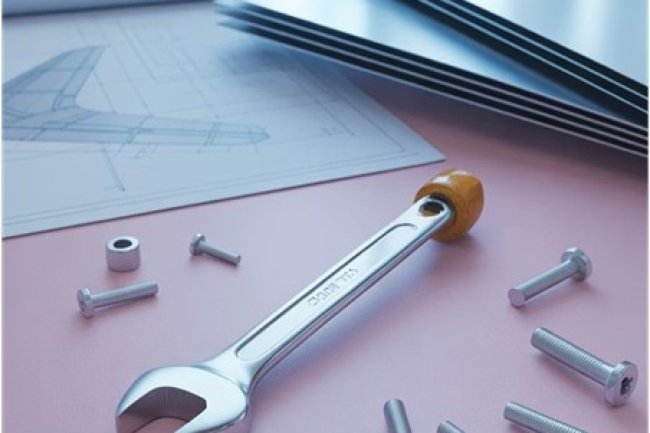
Standardize Fasteners
Use the same screw sizes throughout your design. This reduces tool changes during assembly and simplifies inventory management.
Design for One-Way Assembly
Create asymmetrical features that prevent incorrect installation. Self-aligning components reduce assembly errors by up to 70%.
Ensure Tool Access
Provide sufficient clearance for tools during assembly. Hidden fasteners may look cleaner but dramatically increase assembly time and cost.
What's Your Reaction?